
Hello again….this is part II of the goings on of the last couple of weeks so you are up to date on our progress. The foundation completion seemed to call for it’s very own post given it’s monumental significance to this project and my growth as a ‘freshie’ Earth builder. However we have gone even further than that so allow me to share our work from this past week.
After finishing the wrapping of the foundation bags, I filled the outside of the trench with more drain rock sloping down and away from the bags. On top of this we used some of the natural Washington Earth that was rimming the whole trench to cover the drain rock and bring the ground level up almost to grade. Here’s what it looked like before we started on our first ABOVE-GRADE bag:

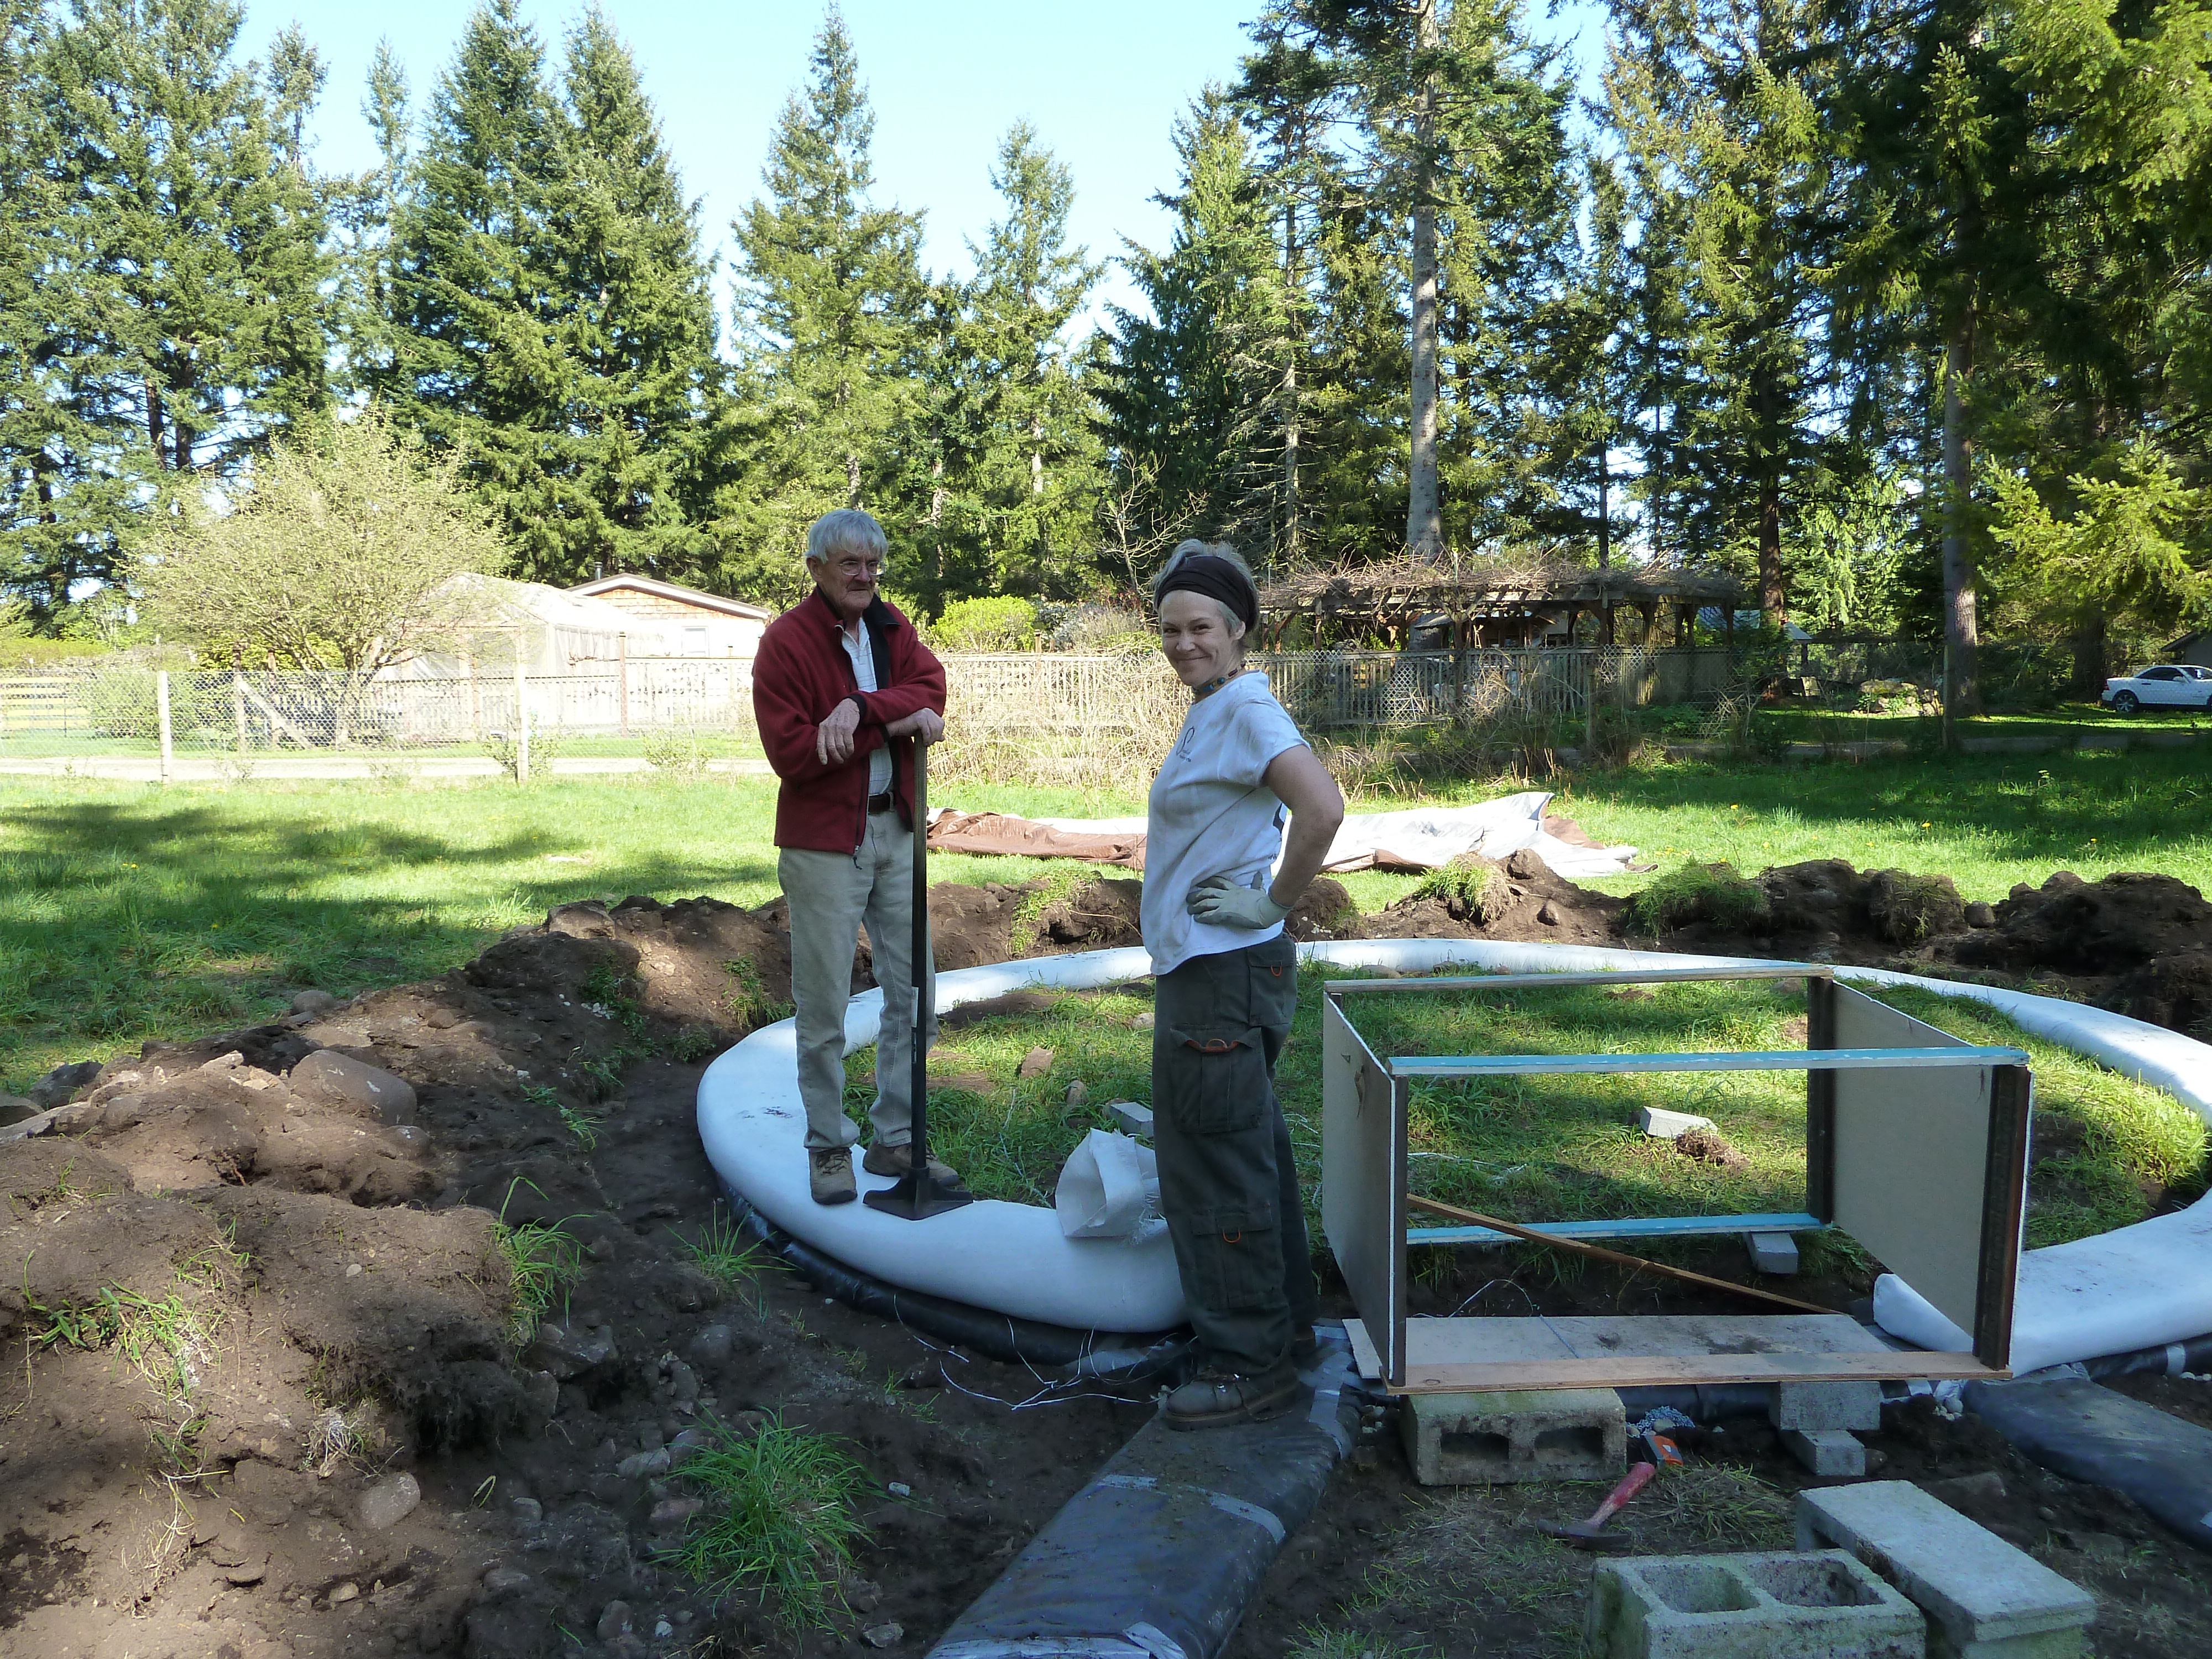
OK, ready to lay some bag! But first….I still had to rig up a door form. You might remember that the woman who is building an Earth bag home nearby had given us her arched door forms but I still hadn’t assembled anything workable. Carpentry, why not? Hell, I’m going to find something to weld while I’m at it!
I thought I would start with only the bottom part of the door form which would essentially be a cube and in line with my carpentry experience of zero. The arched forms are 37″ high so I decided 33″ for the bottom cube would bring our door height to 6′.
I have to say, between the scrap wood in Meggan’s barn, the rusty old hand saw that came with the property and my sad carpentry skills (ie, my sad carpentry skills), this partial door form is essentially useless. Except to Cyrus who calls it ‘his house’. So not a total loss! Just know that the form you will see in the next few photos will be replaced by a proper one in the next couple of days before we get too far into it. No laughing please.
While I was preparing to assemble this carpentry mish-mash, Wayne the plumber surprised us by stopping in to help us build for the day, bless his heart! Wayne is a very interesting, creative and kind soul who is doing some really cool things around the world with Bio-Sand Filters for water purification. He makes them from scratch and teaches others how to make them. His partner Robin is a talented artist who has added her creative adornments to these filters for customized orders. Wayne just returned from India where he conducted workshops on how to make these very inexpensive water purification units. They essentially maintain themselves without needing to change filters, etc. so the implications of this simple and effective technology for certain regions of the planet are huge! Here is a link to his work: http://www.nwbiosand.com Check it out!
So we ended up with a good crew last Saturday with myself, Meggan, little Cyrus, Wayne and Gerry, a dear client of Meggan’s housemate Lori, who had expressed interest in helping out as well. They both showed up to help on the same day, yay!
The first thing Wayne and I did was stabilize our center compass and attach the height compass chain to the outside perimeter of our dome in the door opening so it has space to move as we go up.
The following are photos of our highly productive day last weekend.
With Meggan mixing, Wayne scooping, Gerry feeding and me laying bag, we were flying!

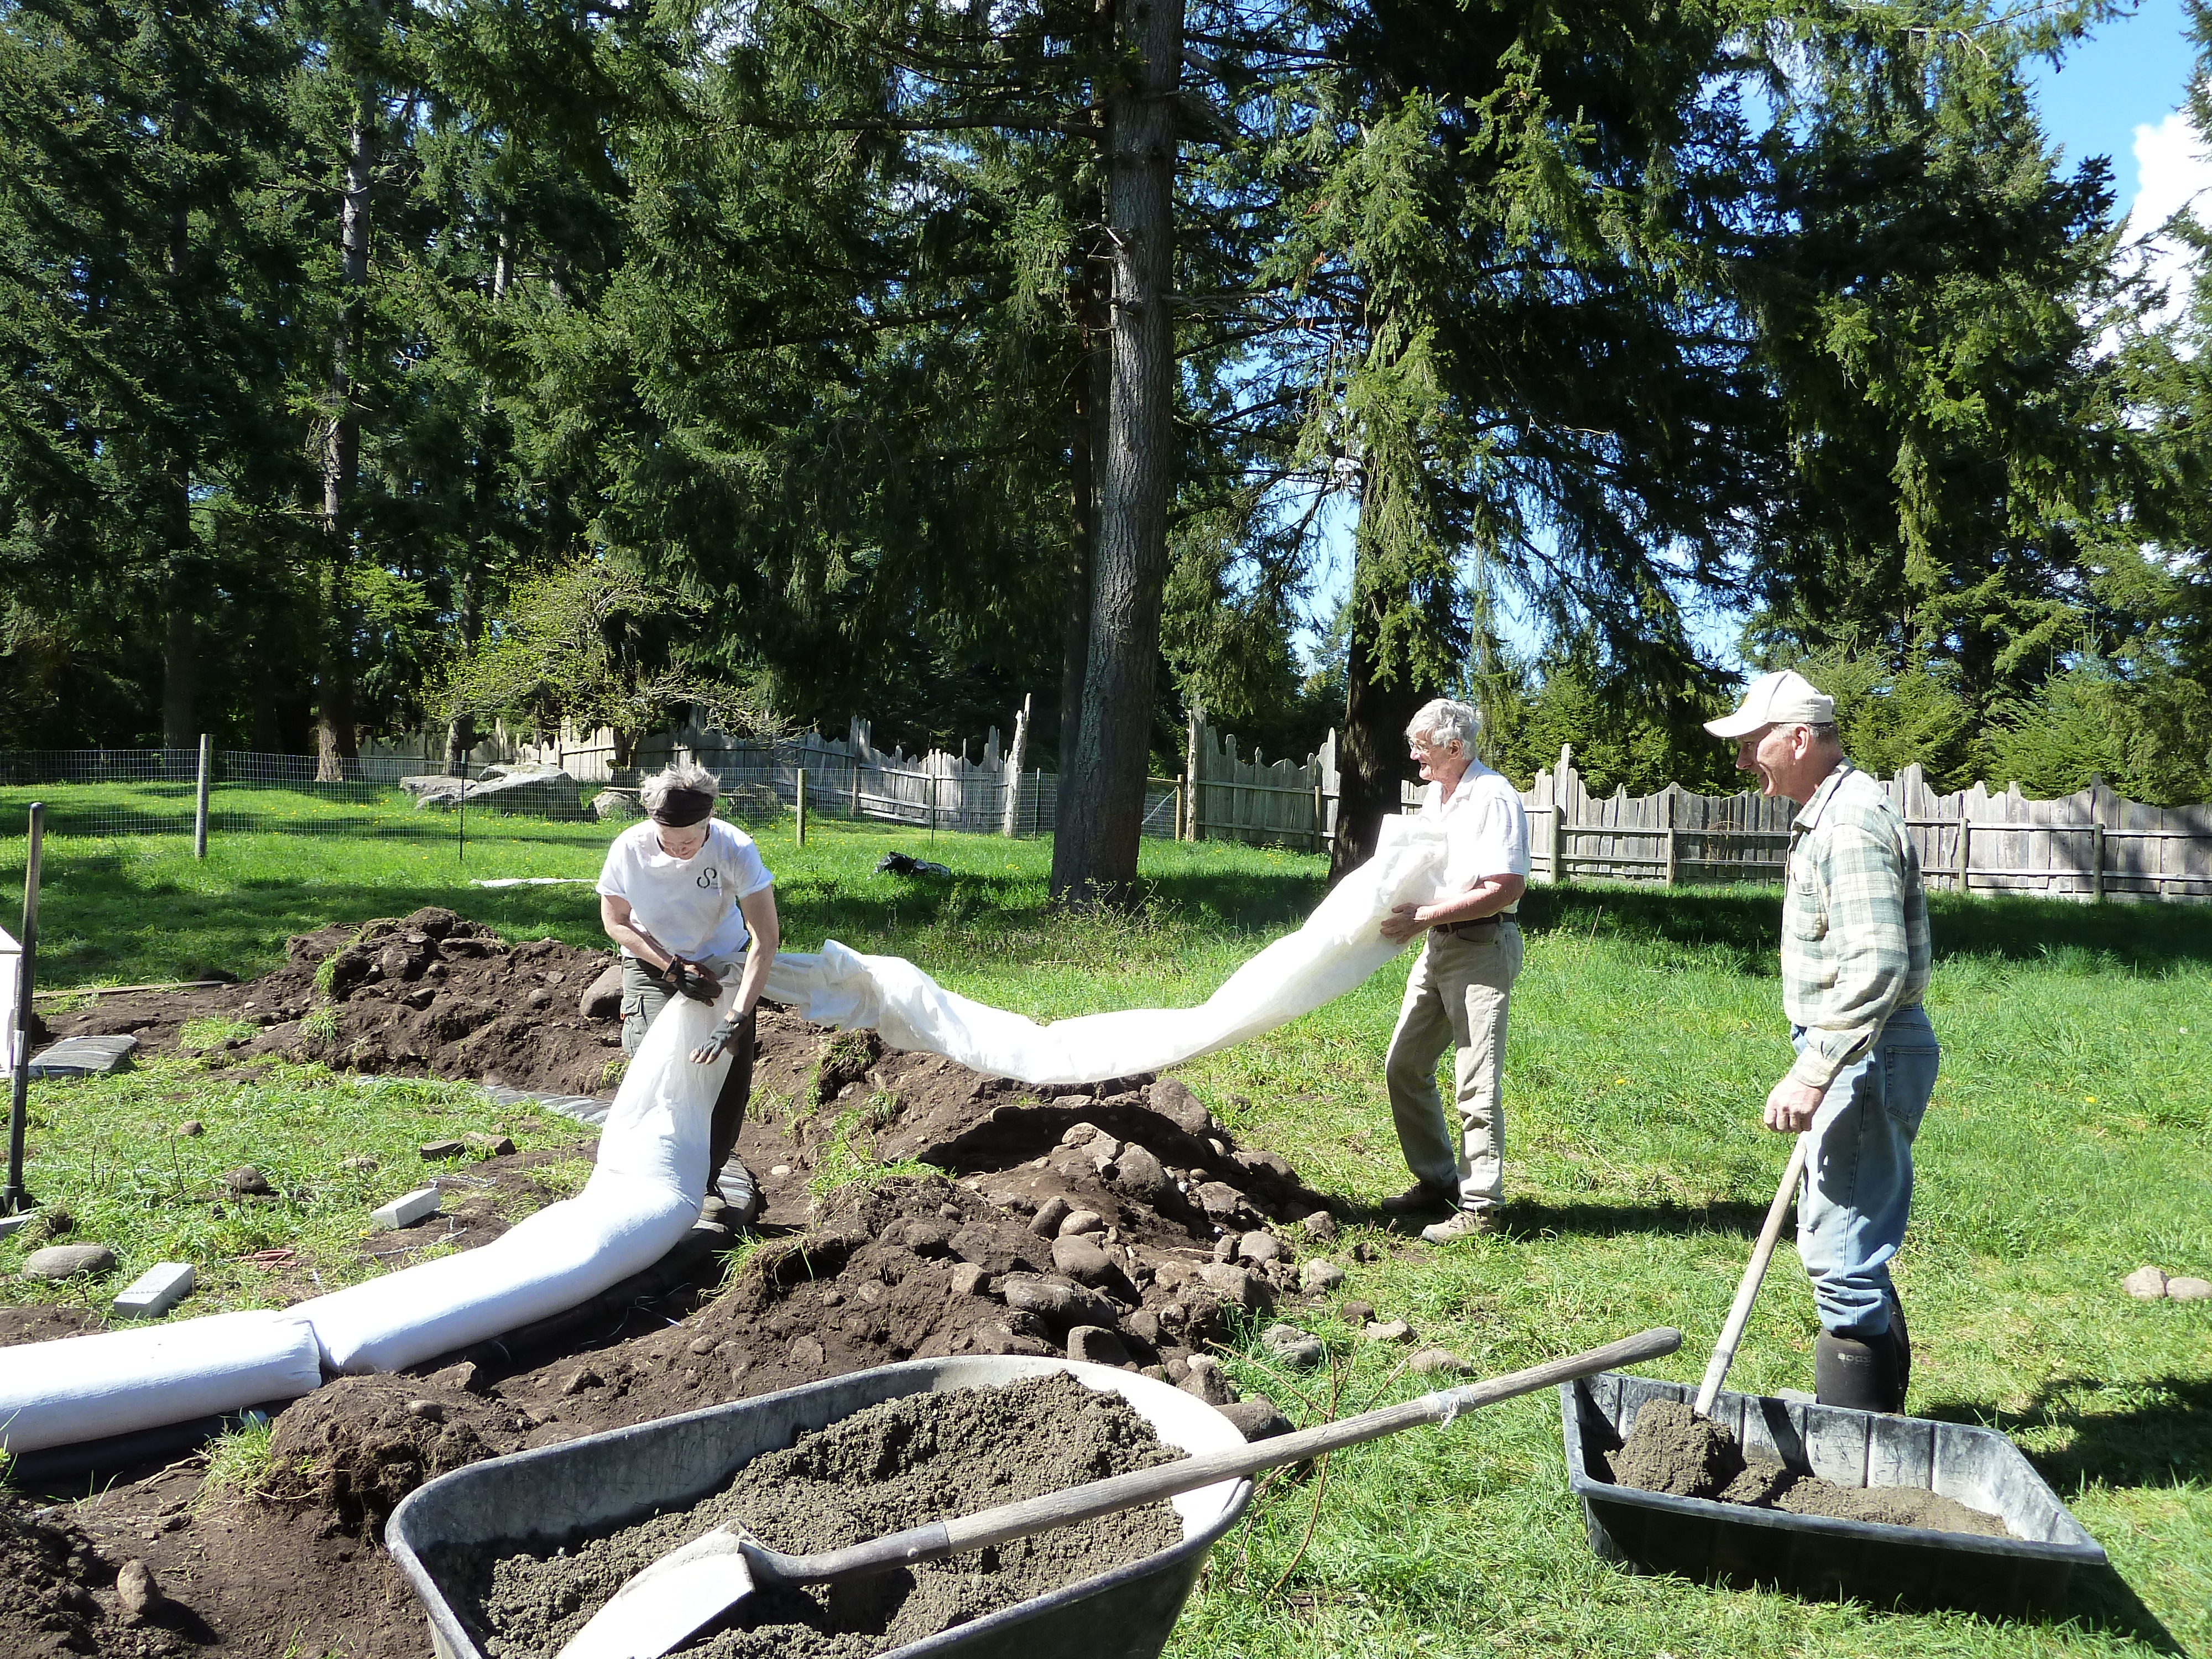
The ever-continuous Earth mixing task!

Waiting for Earth…our circle is almost complete!
Cyrus is going as fast as he can, but there’s only so much!

Even the fabulous Lori came out to help ‘tame’ barbed wire with us!

Finishing the buttresses while Cyrus tested the roads with his dump truck and Mama multi-tasked filling bags and making sure the dump truck driver stayed off the ‘barbed wire’ road…tricky!

And our finished row at the end of a long, fun day of Earth building!

That evening I finally got my bonfire by the river. It was a nice way to celebrate our success in finishing the foundation and starting our upward climb on the dome project. A fire in a circle, symbolically apropos, no?

Over the next day or two we back-filled a wee bit more to level out the ground before laying our first of two ‘buttress bench’ rows on the outside of our main dome wall. After we got the ground up to the level we wanted, I used the leftover plastic sheeting to lay in a circle on the ground before laying our buttress bag (see, I’m learning!). And here is the finished buttress wall being barbed.

This was the day that I had to step away from bag-laying duties for a while as my low back was ‘speaking’ to me in no uncertain terms. It was this past Monday, April 14th and fortunately or unfortunately, the weather forecast was one of rain for three days which gave me a weather-induced reason to rest and embark on a self-care regime to get my back in order, including a trip to the amazing local chiropractor, Dr. Joe who was featured on ‘What the Bleep’, just sayin’….! So I’m officially ‘back’ in business and feeling 96% back to my plough-horse Self (but will be more mindful of my bag-laying body mechanics!)
So Meggan took over her bag-laying initiation a quarter of a row early like a natural and here she is finishing off the first half of the second ABOVE-GRADE row!

We had another helper on this day….a young and eager Dennis whom had helped Meggan in the past with clearing some brush from her property. He is a personable 14-year old and was able to come by mid-afternoon on Monday, last minute, to help us keep the stabilized Earth flowing so we could bang out another half row before sundown. We only had to re-route him from his IPhone a few times. Just kidding, we were grateful for his grunt labour and cheer! Depending on how our progress goes in the next couple of weeks, we may call upon him again!

And voila, this is where we left off before the rainy forecast and back-recovery phase of the last three days.

Today a woman came by who is also building an Earth bag structure in the area, totally different from the one we are doing but Earth bag all the same. We got in contact with each other after Meggan put an ad in a local newsletter calling for volunteers who were interested in helping/learning to build with us. She has been looking for helpers herself to finish off her project so we may organize an ‘energy exchange’ of 5 hrs/wk. I help her for 5 hours one day, then she comes over and helps us for 5 hours another day. That way we both get a day of extra help to inch us closer to completion of our respective projects. Besides, there is always knowledge to be learned from others so I’m certain we will both gain a bit of that from each other…win/win.
Next up, getting our proper door form made to replace the haphazard partial one. I went to Mountain Lumber in Yelm on Tuesday to get proper pieces of wood cut. They were also able to cut our recycled PVC piping to size for our ventilation windows so we officially have 11 lengths of pipe for this purpose. Wayne said he may be able to swing by to help with the carpentry so let’s all hope that will be the case. Bless my heart for trying.
Then, it’s up, up and AWAY from here on in!
Stay tuned!


